
Guide
BJJ Back Control: Seatbelt, Hooks and Retention
Learn the difference between back control and back mount, keep upper-body and hip connections and practise one supported retention branch.
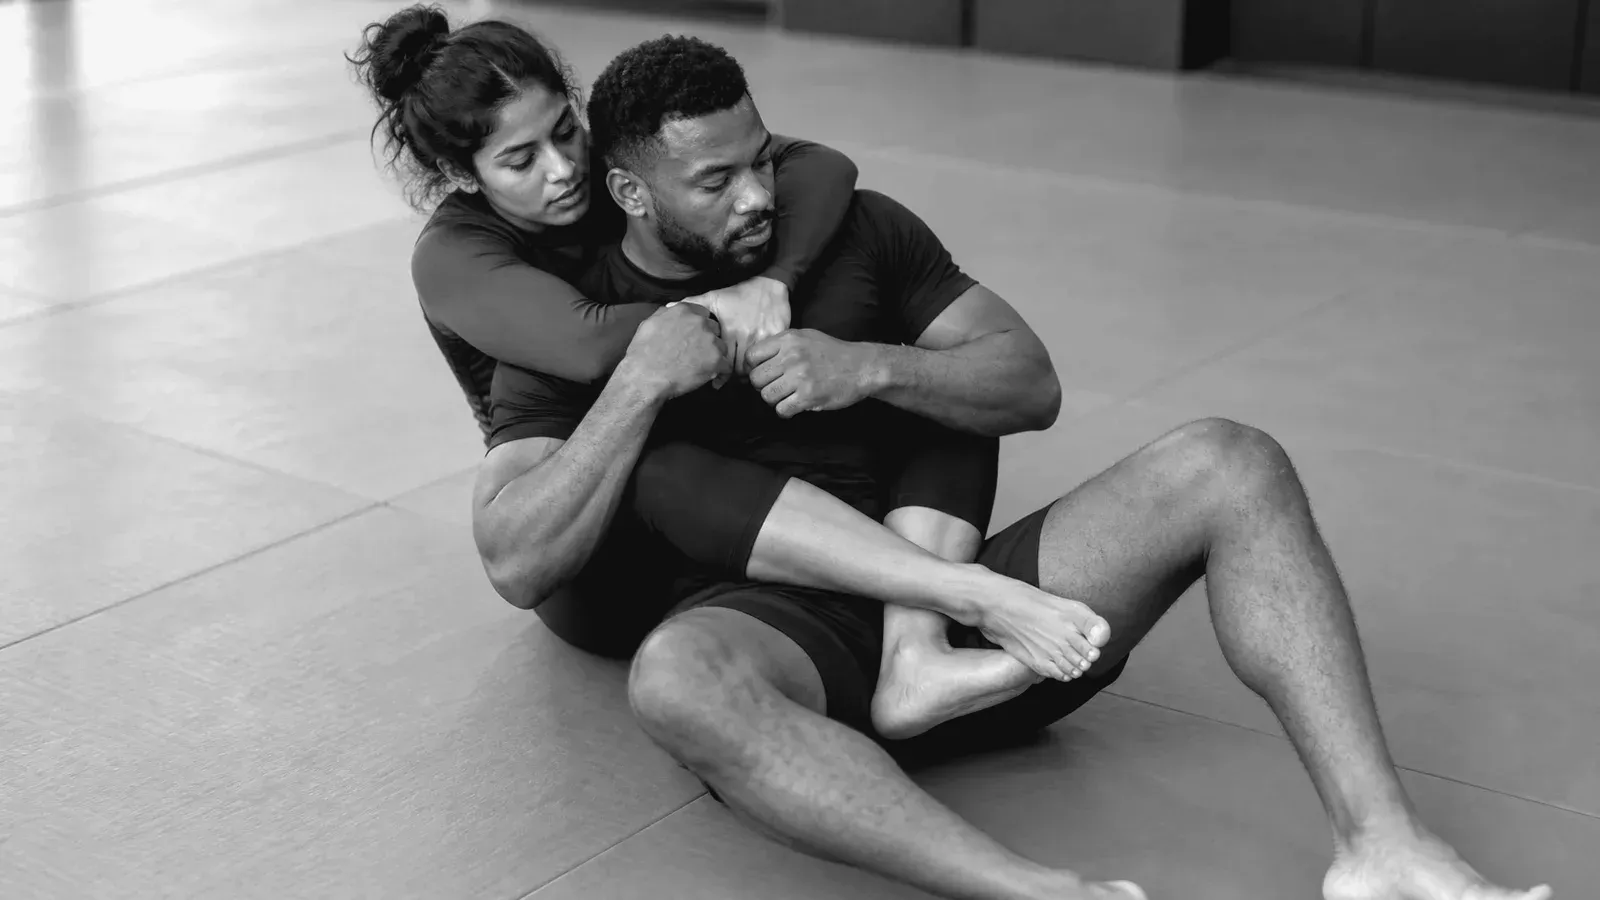
Back control means staying connected behind the opponent while managing their upper body and hips. A common back-mount configuration uses chest-to-back contact, a seatbelt grip and two hooks. But back control is broader than that shape: you can control someone from behind in turtle before both hooks are established.
The useful training question is not simply whether you reached their back. It is whether you can stay connected as they move, then attack without losing that connection. This guide focuses on that control problem rather than competition scoring or a collection of choke finishes.
Identify upper-body and hip control separately
A seatbelt puts one arm over the opponent’s shoulder and the other beneath the opposite armpit, with your hands joined across the chest. Keep the connection snug without squeezing the neck. Your chest follows their back; your head stays close enough to help prevent a free shoulder turn.
Hooks place your feet inside the opponent’s thighs from behind. Keep the ankles uncrossed in this configuration. A body triangle is a different leg control, not two ordinary hooks. Learn its placement separately rather than squeezing harder when a hook slips.
The original coach roadmap illustrates rear mount and the uncrossed-hook configuration. Use the academy back-mount chapter to distinguish back control, back mount and the transitions between them.
Recognise the moment control begins to fail
Watch the shoulders and hips, rather than concentrating only on your hands.
- Shoulders separate from your chest. The opponent gains room to rotate. Check your seatbelt and head connection before chasing a submission.
- Hips slide past your lower hook. A hook may disappear even while the upper-body connection remains. That is a retention problem, not automatically a complete escape.
- The opponent turns to face you. Accept that the back-control objective may be lost. Stabilising another useful position can be better than dragging on the neck to preserve the label.
Record which connection went first. “Lost the back” is too broad to tell you what to practise next.
One retention branch when the lower hook slips
Use a right-over-arm seatbelt: your right arm passes over the opponent’s right shoulder, your left arm under their left armpit. Start lying on your right hip with both hooks. This branch begins when the opponent slides their hips towards that right, over-arm side and your right hook — the bottom leg near the mat — starts to slip.
- Bring your head beside theirs, ear to ear, and draw the elbows close. Keep chest-to-back contact through the change; do not pull on the neck.
- Your left, top leg initially keeps its hook or lies across their hips. Place the toes of the slipping right foot on the mat and use that support to drive the right knee high towards your right, over-arm elbow. Tuck that right foot behind their back.
- Now step the left leg across their upper body. It changes from the initial hip hook to the step that lets you move around them; do not try to leave it fixed in its old hook while turning.
- Move onto your left hip and bring the opponent onto that left, underhook-arm side. Re-establish the hooks and chest-to-back connection before attacking.
The back-retention chapter describes this chair-sit branch. Practise this one direction slowly with a cooperative partner before adding the return movement, whose hand and head placement differs. If the shoulder connection has already disappeared, reset; do not force the same movement from a different starting problem.
Entering and retaining are different drills
An entry from turtle or a mount transition creates access to the back. Retention begins when the opponent reacts to that access. Mixing both tasks into an unpredictable round can make it difficult to diagnose the first failure.
For a cooperative connection drill, have your partner sit upright and sit immediately behind them. Place the seatbelt around the chest, then put each foot inside the corresponding thigh without crossing your ankles. Pause and confirm chest-to-back and hip connections together. This teaches the end configuration; it is not a claim that a resisting opponent will let you sit behind them. Practise your coach-taught turtle or mount entry separately, stopping at that same configuration. Then begin a separate drill from that established position. Do not demand a choke at the end of every repetition. Position before submission matters here because an attack that opens your chest connection may undo the entry you just earned.
A controlled retention session
Try these suggested constraints with your coach and partner:
- Connection check. Establish the seatbelt and hooks cooperatively. Bottom makes a small shoulder turn; top follows without attacking. Stop if the neck takes pressure.
- One known hip movement. Bottom slowly slides towards the agreed right, over-arm side. Top practises the chair-sit branch and stops at renewed back mount. Reset after each attempt.
- Recognise or reset. Bottom sometimes gives that hip movement and sometimes separates the shoulders first. Top identifies whether the practised branch is available, rather than executing it automatically.
- Short control rounds. Begin in back mount at agreed intensity. Top aims to retain a useful position; bottom aims to turn and face top. Leave submissions out initially so both can concentrate on the control exchange.
Release immediately on a tap, verbal signal or distress. Do not crank the neck, cross your ankles in the ordinary-hook configuration or squeeze a body triangle to test a partner’s tolerance. Increase resistance only while both partners can keep the movement controlled.
Save the first lost connection
Use a note with five fields: starting configuration, escape direction, first lost connection, response and resulting position.
For example: “Two hooks and seatbelt; hips moved to the over-arm side; lower hook slipped but chest stayed connected; chair sit recovered the opposite side.” On a failed attempt, record whether the shoulder connection had already gone before you tried to switch.
Connect the entry, retention branch and alternative pin in your game planner. Use training notes to compare those checkpoints between sessions. Add a finish after you can recognise and retain the position it requires. Compare turtle and mount variations when mapping neighbouring positions.