
Guide
BJJ Mount Positions: Low, High, Technical and S-Mount
A practical map of five mount configurations, their control problems and reaction-based drills, with links to dedicated attacking lessons.
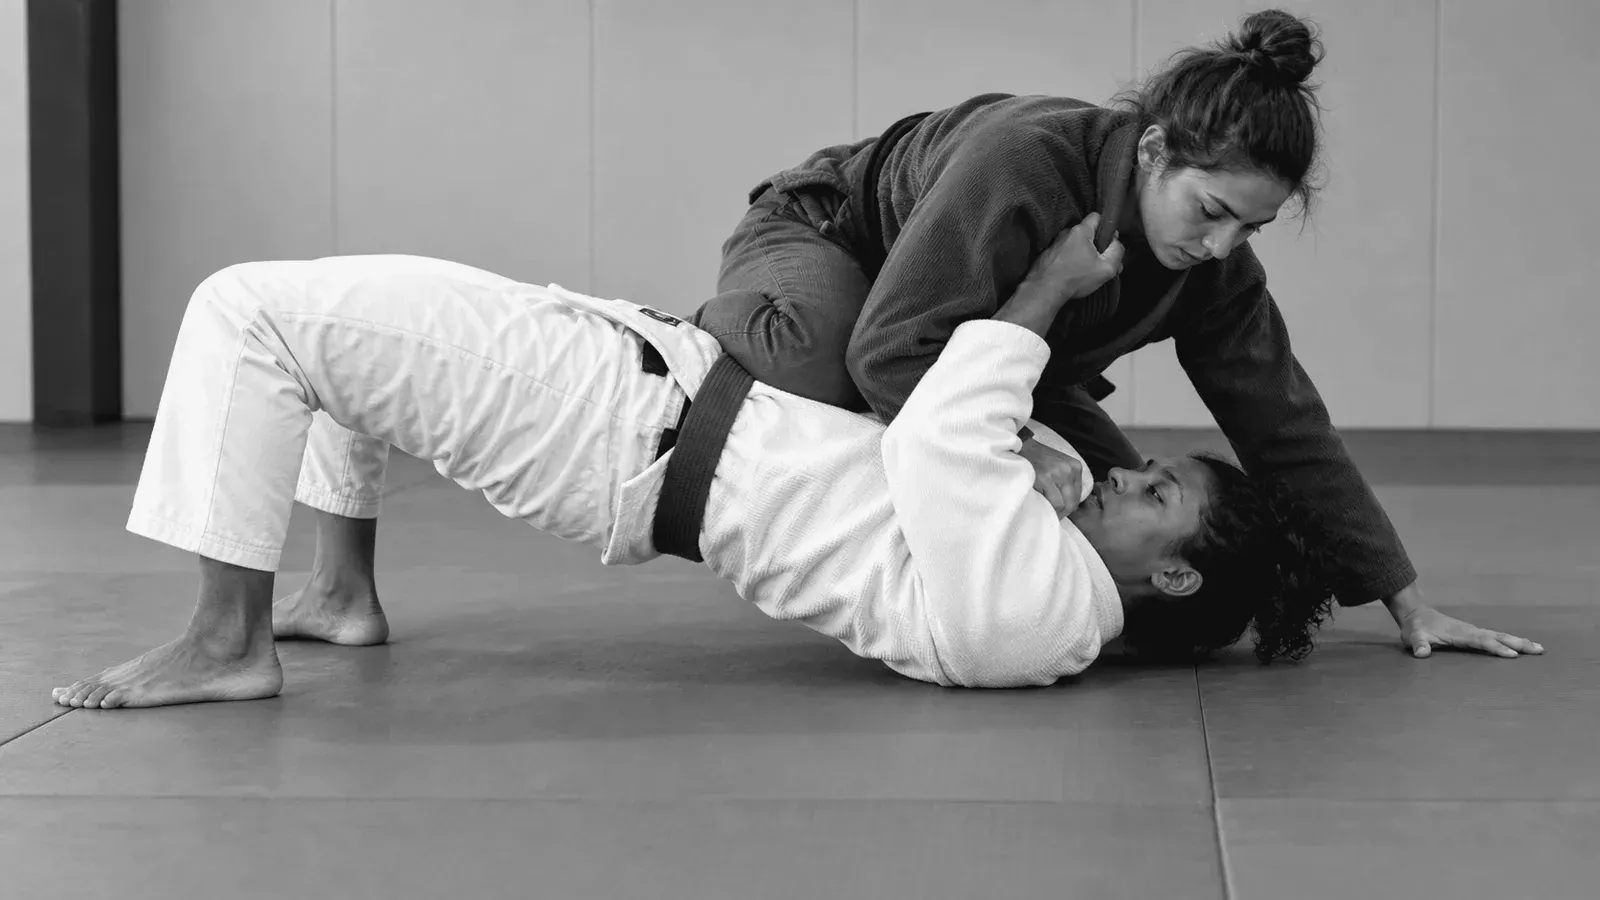
Mount positions in BJJ differ mainly in how high you sit on the opponent’s torso and whether they are flat or turned onto a side. Low, middle and high mount keep you straddling the torso; technical mount follows a sideways turn, while S-mount changes your leg configuration for arm control. Learn to recognise the configuration before choosing an attack.
This is a map of mount variations and the decisions that connect them. The separate S-mount and armbar lessons cover specific attacking sequences.
Compare the five configurations
| Position | What to recognise | What to practise first |
|---|---|---|
| Low mount | Your hips are near the opponent’s belt line, with knees on either side. | Keeping balance as the opponent begins to bridge or move their hips. |
| Middle mount | A central straddling position between the low and high configurations. | Recognising when you can move higher without opening space for a leg to return. |
| High mount | Your knees and weight have moved towards the opponent’s upper torso and armpits. | Maintaining upper-body control while the opponent tries to push you back down. |
| Technical mount | The opponent is on a side; one knee stays behind their back and your opposite foot bases near their hip. | Following the turn without losing connection or crowding their neck. |
| S-mount | Your legs form an asymmetrical configuration around the upper torso, with one knee near the head and the other leg curled beneath the armpit. | Establishing stable arm control before attempting an armbar. |
The mount overview describes low, high and technical mount. For the name and its place in the mount family, use the existing S-mount guide. Treat middle mount as a descriptive location, not a separate submission system.
Choose from the reaction, not from the name
A useful mount plan asks three questions: can I stay on top, can I improve my control, and is an attack available without abandoning that control?
The opponent bridges. Your first task is balance. Keep a usable base and a hand available to post when needed. If both arms are committed to an attack while the opponent traps your base, the submission attempt may cost the position. Practise responding to the bridge before adding a choke or armbar.
The opponent makes space near your knees. Check whether a leg is returning between you. A high mount label does not help if you have already lost control of the lower-body space. Reset the drill when the bottom player recovers half guard or another agreed guard position.
The opponent turns onto a side. Technical mount is one way to follow that reaction while keeping top control. Do not remain rigidly centred over a body that is no longer flat. Practise recognising the turn, then establishing the demonstrated knee-and-foot configuration cooperatively.
An arm becomes available. The academy transition lesson shows moving higher by walking the knees towards the armpits, then shifting weight and bringing a knee beneath the shoulder for an S-shaped base. Move slowly and preserve balance rather than forcing the partner’s arms apart. Decide whether you can isolate it while keeping your base. If you move towards S-mount, treat that as a positional transition first. The armbar from mount lesson covers the submission; this practice ends at stable control rather than a rushed finish.
Keep the entry and the variation separate
Passing guard or transitioning from side control gets you to mount. Choosing a low, high or turned configuration happens after that entry. Logging only “got mount” hides whether you could keep it.
The academy mount chapter separates entries, holding the position and attacking. If your difficulty is reaching mount at all, begin with an entry from side control rather than drilling an upper-body attack from a position you do not yet reach.
A position-recognition session
Use these suggested constraints with a cooperative partner. They are a way to identify a training problem, not a promise that one variation stops every escape.
- Name and check. Establish each configuration without resistance. Both partners identify the hip height, leg arrangement and whether the bottom player is flat or on a side. Do not add finishing pressure.
- One reaction. Begin in low or middle mount. Bottom gives a gentle bridge or sideways turn; top responds with balance or a practised technical-mount transition. Stop before another movement is added.
- Two choices. Bottom may bridge or turn. Top must recognise which occurred instead of executing a predetermined sequence.
- Hold or advance. Start in a familiar mount. Top may hold or move to another configuration; bottom tries to recover guard at agreed intensity. Reset on a clear escape, loss of control or unsafe pressure.
Keep weight and movement controlled. Do not bounce on the torso, crank the neck or pin a partner’s joints to force a transition. Release immediately on a tap or distress. Avoid blindfolded or explosive balance drills while you are learning the position.
Record configurations as connected decisions
After each round, note the starting variation, the first defensive reaction, your choice and the position you actually reached. For example: “Middle mount; bottom turned; I stayed square and lost connection. Next practice: recognise the turn before changing the knee-and-foot base.”
Save the variations as branches in your game planner. Connect a control checkpoint to an attack only when you can maintain that checkpoint against resistance. Your mount game then becomes a set of tested responses, rather than five names attached to the same unsuccessful submission attempt.