
Guide
Single Leg Takedown in Brazilian Jiu Jitsu: Head-Inside Entry and Finish
A practical single-leg guide with one head-inside entry, a controlled finish, gi setup considerations and a training log.
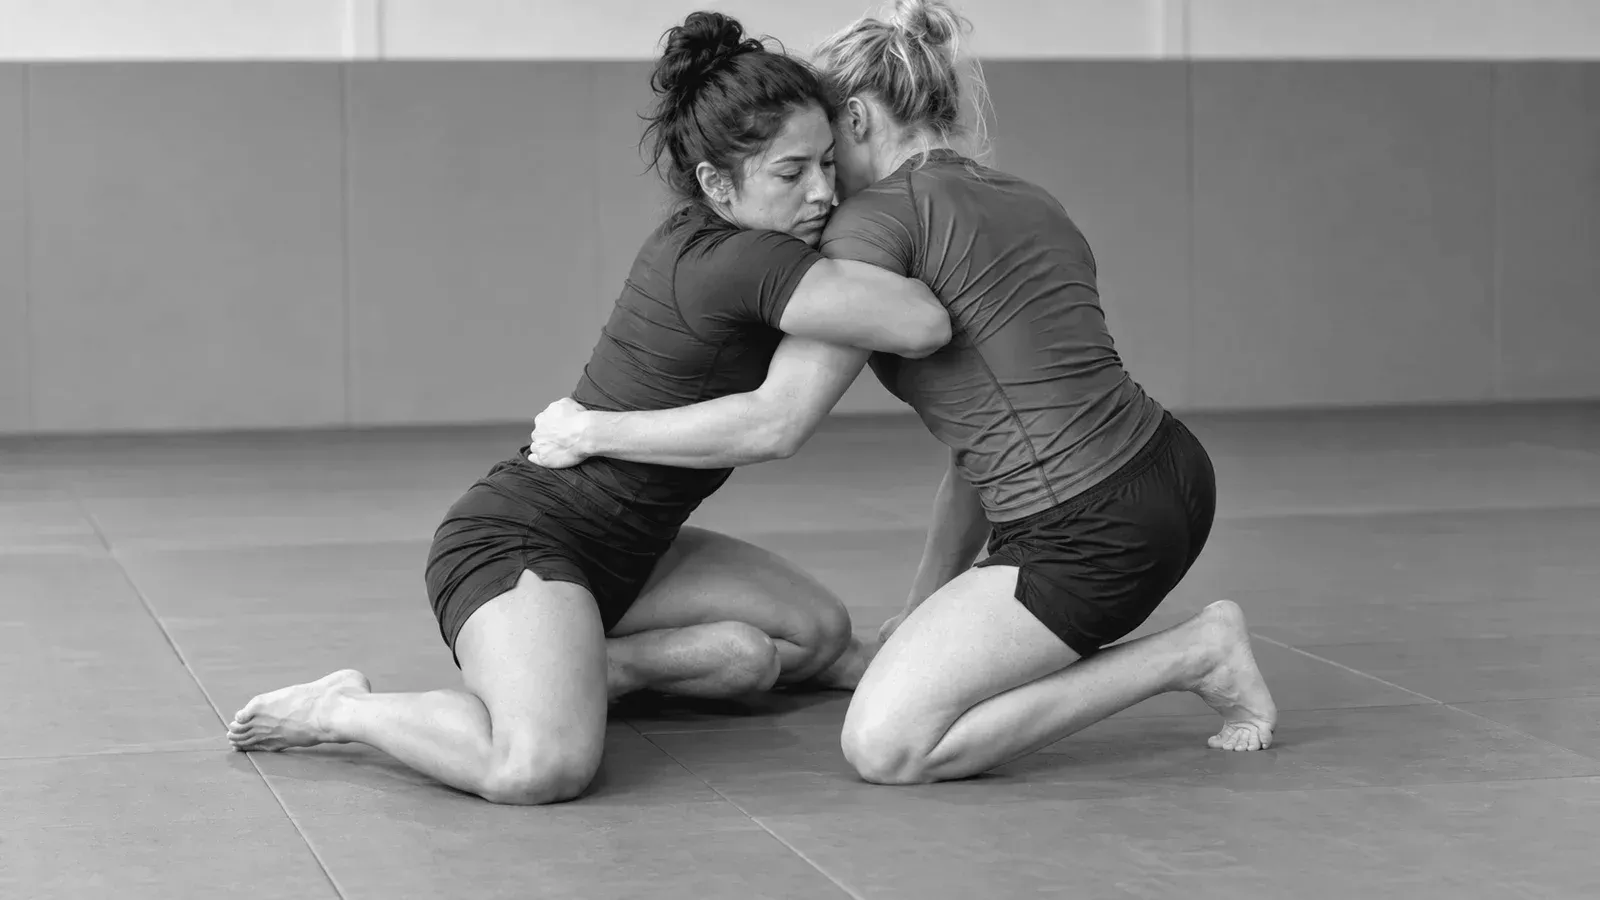
A single leg takedown isolates one of the opponent’s legs so you can disrupt their balance and reach top position. In BJJ, the entry must account for grips and the possibility of a headlock or guard recovery. This guide uses a head-inside entry and one controlled run-the-pipe finish; it is not a catalogue of every single-leg variation.
The single-leg technique reference surveys the finish families; this guide isolates the illustrated head-inside run-the-pipe version.
Start close enough to enter
Use the illustrated right-leg attack: the defender offers their right leg forward, and the attacker leads with the left foot. Both players begin standing in staggered stances. For a cooperative repetition, the defender holds that offered lead leg rather than withdrawing it unpredictably. Start within a distance where you can step to that leg without reaching with straight arms.
Lower your level through the knees and work past the defender’s hands. Step your left foot outside the defender’s right foot while bringing your head inside the right thigh, against the torso. Wrap your left arm from the outside of the thigh and your right arm from the inside, enclosing the leg just above the knee. Join your hands beneath the thigh and come to the standing leg-control position. Keep the hips beneath you and the head up; do not leave the head hanging outside the hip.
Finish the standing capture by running the pipe
The USA Wrestling illustrated lesson shows the specific lock: left palm facing down, right hand clasping palm up. Keep the leg above the knee and your forehead connected against the defender’s ribs. The leg should stay close to your body rather than dangling at arm’s length.
For this right-leg capture, step your left (outside) foot back and out towards the captured-leg side. Follow with the right foot, turning your chest and the held thigh together as you continue backwards around the defender’s planted left foot. Keep the steps short and maintain your base rather than crossing your feet or jumping through the turn. The defender has to hop backwards on the free leg. As you continue the turn, bow your chest over the captured thigh under control to bring the defender’s balance down. Do not rotate their knee against a fixed foot or jerk the leg sideways.
When the defender reaches the mat, gather the far leg and settle on top before resetting. The illustrated sequence finishes with the attacker controlling both legs rather than releasing the capture during the fall. Practise the backward steps and chest movement slowly before joining them to an entry.
This finish starts from an upright capture. A complete sprawl that collapses your posture changes the problem; do not keep pulling as though you still have the same starting position. If your neck is trapped in a headlock, use the defence your coach has taught and tap when caught. For a cooperative entry drill, stop and have the partner release so both of you can reset.
Use the entry in a BJJ setting
BJJ adds grips, submission threats and the possibility of recovering guard after the landing. The BJJ single-leg lesson discusses a low stance, head-inside posture and different finishing reactions; the USA Wrestling sequence above supplies the specific version practised here. Keep the two-hand standing capture above as one defined version rather than combining it with a lapel-grip finish from another tutorial.
If training in the gi, organise the sleeve or lapel hand-fight with your coach before attempting the entry. A grip that prevents the step is an entry problem, not something to solve by wrenching the opponent’s leg after reaching from too far away. For the broader training context, see gi versus no-gi.
Diagnose the failed checkpoint
Use three questions after an attempt:
Did I reach the leg? If you chased it from far away, return to the starting connection and distance. More finishing effort cannot repair a missed entry.
Did I keep posture after capturing it? If your eyes dropped and your upper body folded, have your coach check the step and head position before adding a finish.
Did I move the opponent’s balance? If you held the leg but both of you remained upright and static, isolate the finish under light cooperation. Do not turn a stuck rep into a forceful twist of the trapped leg.
These questions separate an entry problem from a control or finishing problem. Record the first one that fails.
Practise in stages
This is a suggested session structure to adapt with your coach.
- Entry and pause. The partner stands cooperatively. Enter, secure the leg and pause without attempting a fall. Check orientation together, then release and reset.
- Finish from established control. Start with the leg already captured and practise the backward step-and-chest-bow finish at low intensity. The partner must already know a safe breakfall and agree to a slow, predictable landing. Lower with them while keeping the leg close; do not lift and drop them. A coach should supervise the first completed repetitions. Stop at a controlled top position.
- One known reaction. Add a light withdrawal or change in balance. Identify whether the planned finish is still available; a reset is acceptable.
- Setup to top control. Add the hand-fighting entry your coach chose. Separate successful entries from completed takedowns and stable landings when recording results.
Use appropriate mats, clear space and agreed intensity. If either partner has not learned how to land safely without posting a straight arm, keep the drill at the capture-and-pause stage and learn the fall with your coach first. Release immediately on a tap or distress. Do not continue if the landing becomes uncontrolled or the neck takes the force. Have your coach confirm which techniques and variations are permitted in your training or competition ruleset; this guide makes no belt-specific legality claim.
Make the single leg part of your standing game
Log the attacked side, starting grip or tie, defensive reaction, first lost checkpoint and actual landing position. For example: “Reached the leg but folded when they pressed down; next session starts from the capture and tests posture.”
Connect the attack to the position you reached in your game planner. Add a backup only when your coach shows how it starts from a reaction you repeatedly encounter. One tested connection is more useful than several variations you cannot distinguish under pressure. Compare this entry with the double-leg takedown without mixing their grips or finishes.