
Guide
Double Leg Takedown: One Entry, a Controlled Finish and How to Practise It
The double leg takedown is a standing technique in which you change level, step between the opponent's legs, take hold behind both knees and drive them to the side so you land on top. This guide teaches one basic entry and a controlled finish, then gives partner drills, troubleshooting and a training log.
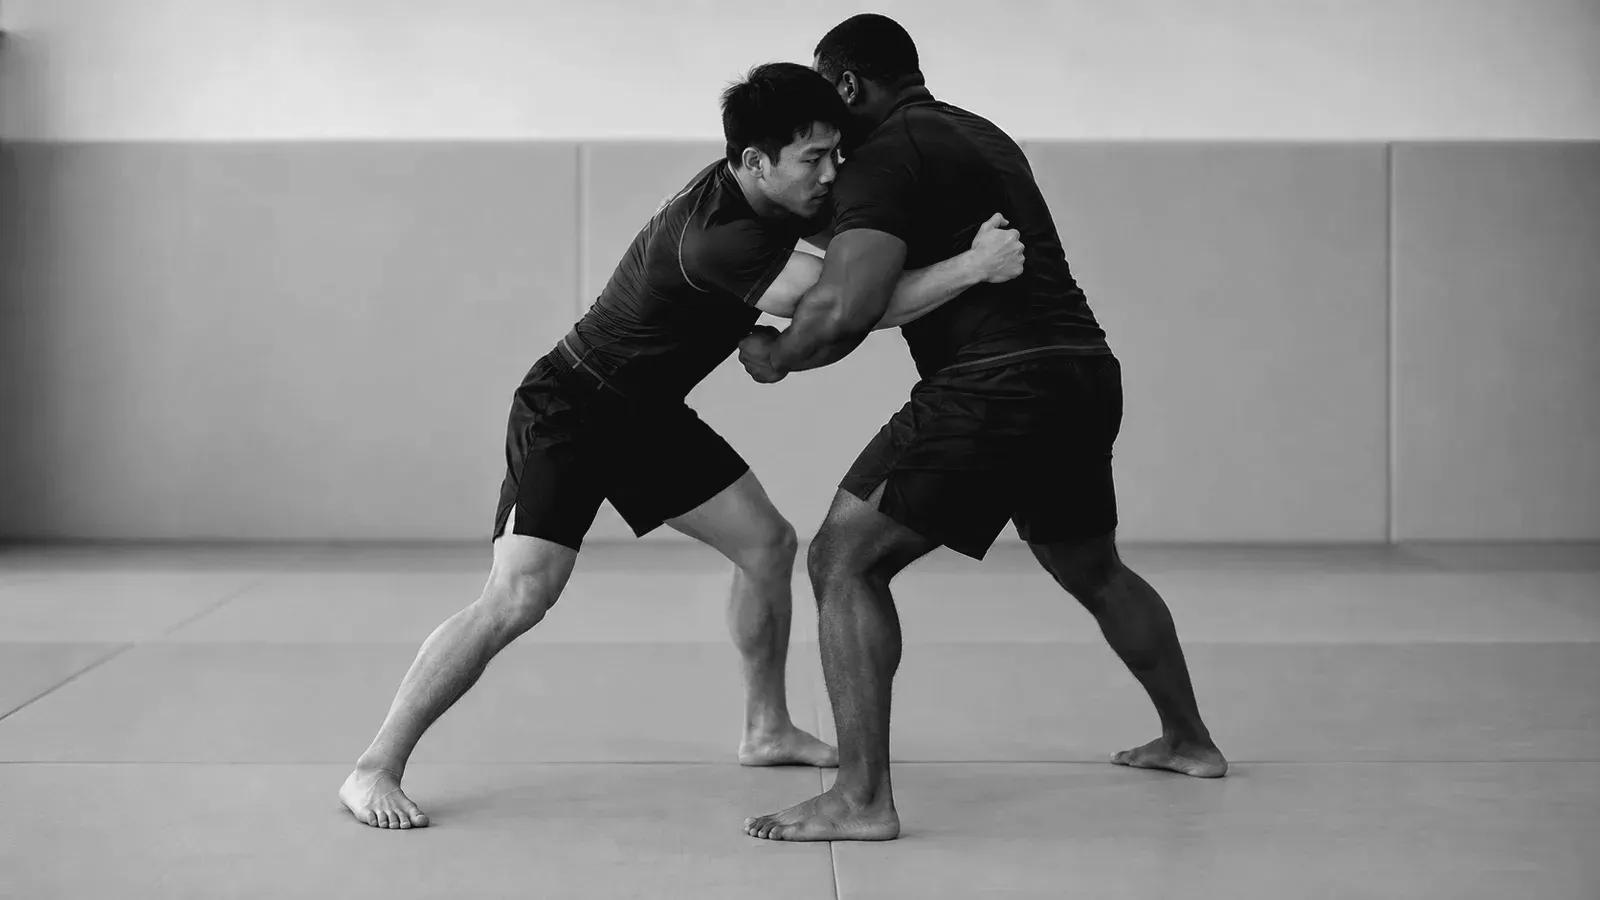
A double leg takedown is a takedown in which you grab both of the opponent’s legs and push their upper body back, forcing them to fall while you land on top. It applies when you can change level, step in and reach both legs with your head up. It does not apply when you are too far away to reach, or when you can only get there by dropping your head into a sprawl or guillotine.
The technique looks simple, but it depends on timing, level changes and body positioning. Raw power with poor technique can sometimes finish it, so inexperienced grapplers are better off building the mechanics properly.
The double-leg technique reference surveys the wider family; use the entry and side-finish checkpoints below for this one practice session.
When the double leg applies
A takedown off-balances an opponent and brings them to the ground with you landing on top. Moving in quickly to attempt one is called shooting. The double leg is a shot you take from standing, in a no-gi grappling exchange, once you have created an opening.
It is difficult to hit a clean double leg against an opponent standing in a staggered stance, with one foot well ahead of the other. The entry below starts by making them react: you pull their head down, they posture up, and the shot goes in under that movement. Hand fighting helps create the opening; this guide stays with one collar-tie entry.
It does not apply when the distance is wrong. It also does not apply when the opponent is already sprawling or backing away as you arrive, when you would have to shoot with your head low and in front of their chest, or when the rules of your event restrict the takedown. Check the ruleset before you rely on it in a match.
The basic entry
The sequence below begins with both of you standing, facing each other, with you in a staggered stance.
1. Set the tie and draw the reaction
Take a collar tie with your lead hand, gripping behind the back of the opponent’s neck. Your other hand holds their tricep. Pull their head down. Their natural reaction is to posture up, and that rise is your cue to shoot.
2. Change level and step in
Lower your level by bending the knees and keeping your back straight and your head up. Step your lead leg deeply between the opponent’s legs. This is the penetration step. As you change level and enter, release the neck tie and tricep control. Transfer those hands to the backs of both knees, keeping your chest close and your head to the outside. The tie sets up the entry; it is not held through the leg capture.
3. Step outside and finish to the side
Step your trailing foot outside the opponent’s nearest leg to establish the angle for the finish. Drive into them and take them to the side rather than straight back. Your head pushes them in the direction you are going, and your far hand cuts down so they cannot hop away. There is less lifting than most people expect: the job is to turn the opponent and drive them across, with your head up and your chest close.
When they land, aim to keep top control. Securing it lets you hold pressure and move on to the next attack. Record the position you actually reached, rather than assuming every takedown ends in the same pin.
What people get wrong
The mistakes below are the common beginner ones, and each has a quick fix.
- Shooting from too far away. If you have to lunge, you have already lost your posture. Set the tie at a distance where you can step in rather than reaching.
- Losing posture. Takedowns need an athletic stance, with a straight back and head up. A dropped head removes the drive and puts your neck where a guillotine can reach it.
- Crashing onto the lead knee. Some entries briefly touch a knee to the mat; the error is dropping your weight onto it or remaining kneeling while the opponent reacts. Practise the level change and step with your coach rather than diving onto the knee.
- Relying on strength. A strong partner may let you get away with a poor entry. An experienced one will not.
- Hesitating. If you change level and then pause, the opponent has time to react. Commit to the step once the posture-up reaction comes.
Sprawls and head traps: reset rather than force
In BJJ, a sprawl, an angle change or a head-control counter can interrupt this entry. A poorly positioned head can also expose you to a guillotine. If your opponent sprawls and their hips come down on you, or your head is caught under their arm, do not keep driving. Pushing through a sprawl or a trapped head is how you get squashed or choked. In a cooperative entry drill, stop the repetition and have the partner release so you can reset safely. During live training, a locked head-control or guillotine requires the defence your coach has taught; forcing your head up is not a universal escape. Tap when caught rather than treating this takedown guide as a choke-defence tutorial.
In training, treat a caught head as a reason to stop and reset, not as a problem to power through.
Practice plan
Use the following suggested progression with your coach. Each stage is done with a cooperative partner, and you stop and reset whenever anyone’s head or neck is in an awkward place.
- Penetration step alone. With no partner, practise level change and the step. Pause between attempts to check balance and posture before adding speed.
- Entry on a standing partner. Your partner stands still. Step in, put your head outside and take hold behind both knees, then stop. Check that your head is up, your back is straight and your trailing foot is close to landing outside their leg.
- Controlled finish. Add the outside step and the drive to the side. Your partner steps back or sits to the floor under control, and you follow them down. The aim is a turn and a controlled landing on their side, not a lift or a drop.
- Reaction entry. Start from a collar tie. You pull the head, your partner postures up, and you shoot. Begin at walking pace.
- Positional sparring. Start from the collar tie with a light, agreed level of resistance. Partner can sprawl, back away or ask to reset. Keep the pace controlled.
For planning the techniques you connect to this entry, use a Brazilian Jiu Jitsu game planner. A coach-written PDF on setting up the double leg from a clinch shows the same basic entry with a Thai clinch start, and the Evolve MMA double leg guide explains the collar-tie setup in more detail.
Troubleshooting
- You keep falling short. Check your starting distance and penetration step with your coach.
- Your partner hops away. Your far hand is not cutting down and your drive is straight back instead of to the side.
- You end up with your head low. Lift your chest and keep your head up through the step.
- You lose the position after landing. Slow the finish down and practise stopping on top before you try to move on.
- You get sprawled repeatedly. Slow the entry down and work on stepping in only when the posture-up reaction has happened.
Training log
Use training notes to track what changes. After each session, write down:
- how many shots you took, and which entry you used;
- how many reached top control, and which position you landed in;
- how often you were sprawled, and how often you were caught in a guillotine or head trap;
- the main reason for each failure: distance, posture, knee drop, hesitation or sprawl.
After a few sessions, look for the cause that repeats and make it the single focus of your next drill block. If you keep a game map, add the double leg as a standing entry, with branches for the positions you reach after landing and a branch for what you do when you are sprawled.